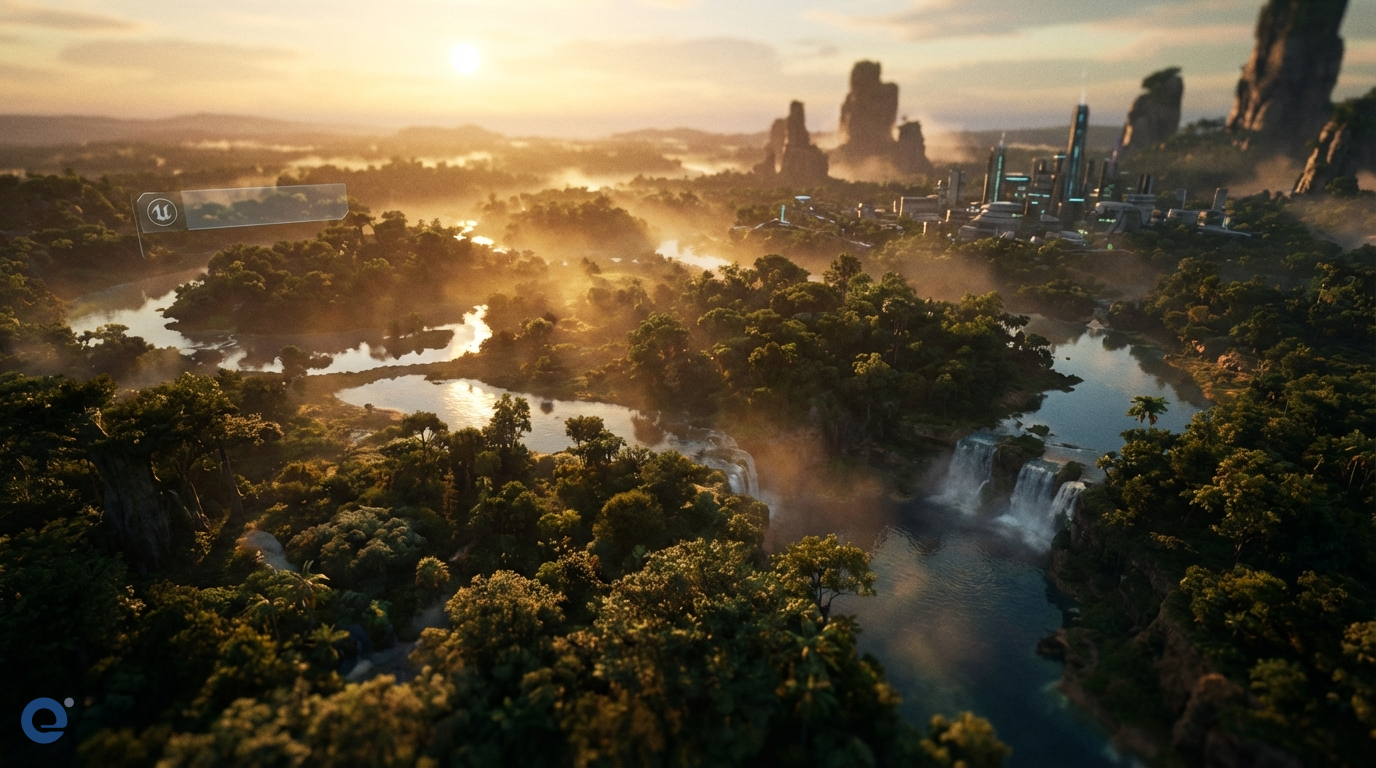
Unreal Engine stands as a powerhouse in game development. Moreover, it offers tools to build breathtakingly realistic and immersive worlds. Creating environments is a crucial part of game design. Therefore, mastering Unreal Engine's environment tools is vital for developers.
This guide explores how to create stunning scenes within Unreal Engine. We will cover everything from basic setup to advanced techniques. Consequently, you will gain the knowledge to bring your virtual worlds to life.
Getting started with Unreal Engine environments
Before diving into complex scenes, understanding the basics is essential. Unreal Engine provides a user-friendly interface for environment creation. However, familiarity with its core components is necessary for an efficient workflow.
First, you need to set up a new project or open an existing one. The Epic Games Launcher is your gateway to installing Unreal Engine and managing projects. Once you have a project, the Unreal Editor opens, presenting several key windows.
Understanding the interface
The Viewport is your main window into the game world. Here, you navigate, place objects, and see your scene come together. The World Outliner lists all actors (objects) in your current level. This helps you select and organize elements. The Content Browser is where you manage all your project assets, like models, textures, and materials. Finally, the Details panel displays properties of the selected actor or asset, allowing for fine-tuning.
Building the foundation: Landscape creation
Most outdoor scenes start with a landscape. Unreal Engine's Landscape tool is incredibly powerful for terrain creation. You can sculpt mountains, valleys, and plains with ease.
To begin, activate the Landscape mode. You can then create a new landscape or import a heightmap. Sculpting tools allow you to raise, lower, flatten, and smooth the terrain. Furthermore, you can use erosion tools to add natural-looking details.
Painting landscape materials
A bare landscape isn't very interesting. Therefore, you need to apply materials. Landscape materials allow you to paint different textures like grass, rock, and sand onto your terrain. These materials can blend based on height or slope, creating realistic transitions.
Populating the world: Foliage and vegetation
With the terrain sculpted, it's time to add life. The Foliage tool in Unreal Engine lets you paint vegetation and other details onto your landscape or meshes. You can add trees, bushes, grass, and rocks efficiently.
Simply add your foliage meshes to the Foliage tool palette. Then, select the ones you want to paint and start clicking or dragging in the viewport. You can adjust density, scale, and other parameters for variety. However, be mindful of performance; too much dense foliage can impact frame rates.
Optimizing foliage
To maintain good performance, use Level of Detail (LODs)[2] for your foliage meshes. Also, adjust culling distances so that small foliage isn't rendered far away. This significantly improves performance in large, dense environments.
Setting the mood: Lighting and atmosphere
Lighting is crucial for creating a believable and atmospheric environment. Unreal Engine offers a sophisticated lighting system. Key light types include Directional Light (for sun/moon), Sky Light (for ambient light from the sky), Point Lights, and Spot Lights.
Unreal Engine 5's Lumen is a fully dynamic global illumination and reflections system. It provides realistic lighting that reacts instantly to changes. This is a game-changer for dynamic environments and UE5's impact on cinematics is significant.
Atmospheric effects
To enhance realism, add atmospheric effects. Atmospheric Fog or Exponential Height Fog can simulate the density of the air, adding depth to your scene. Post Process Volumes allow you to adjust color grading, bloom, exposure, and other visual effects within a specific area or globally.
Materials and textures: The look and feel
Materials define how surfaces look in your game. Unreal Engine's Material Editor is a node-based system for creating complex materials. You can create anything from simple colored surfaces to intricate PBR (Physically Based Rendering) materials that react realistically to light.
PBR materials use textures like Base Color, Normal, Roughness, Metallic, and Ambient Occlusion. These textures control different aspects of how light interacts with the surface. Consequently, your materials look consistent under various lighting conditions.
Adding details: Assets and props
Environments need more than just terrain and foliage. Buildings, furniture, vehicles, and small details bring a scene to life. You can import assets from various sources, including the Unreal Engine Marketplace or Quixel Megascans, which is integrated into the engine.
Placing props is straightforward. Drag them from the Content Browser into the Viewport. Then, use the transform tools (move, rotate, scale) to position them accurately. For large worlds, consider using Level Streaming or World Partition to manage memory and performance by loading and unloading parts of the world as needed.
Interactive elements with Blueprints
Environments don't have to be static. Using Unreal Engine's visual scripting system, Blueprints[1], you can add interactivity. For example, you can create doors that open, lights that switch on, or simple environmental puzzles.
Blueprints allow you to add functionality without writing C++ code. This makes it accessible for designers and artists to add dynamic elements to their scenes. You can trigger events based on player proximity or interaction.
Helpful plugins for environment creation
The Unreal Engine ecosystem is rich with plugins that extend its functionality. Some plugins are particularly useful for environment artists. For instance, plugins like Ultra Dynamic Sky offer advanced sky, weather, and day-night cycle systems with minimal setup.
Other notable plugins include the Ocean System for Rendered Cinematics for realistic water bodies and Brushify.io for landscape creation and material workflows. MetaHumans, while for characters, can populate your environments with realistic people.
Optimizing your environments
Creating beautiful environments is one thing; ensuring they run smoothly is another. Optimization is key. We've mentioned LODs[2] and culling for foliage, but these apply to all meshes.
Use the built-in performance profiling tools to identify bottlenecks. Look at draw calls, shader complexity, and memory usage. Optimize textures by using appropriate resolutions and compression. Simplify complex meshes where possible without sacrificing too much visual quality. Sometimes, it's better to model certain details in Blender and import them, rather than creating overly complex geometry directly in UE.
Advanced environment techniques
Once you master the basics, you can explore more advanced techniques. Procedural generation can help create vast worlds with less manual effort. Tools like Houdini can integrate with Unreal Engine for complex procedural asset creation.
Photogrammetry[3] is the process of creating 3D models from photographs. This technique allows for incredibly realistic assets, and Megascans is a prime example of a library built using it.
Unreal Engine 5 introduced Nanite[5], a virtualized micropolygon geometry system. Nanite allows you to use film-quality assets with millions of polygons directly in your game without the traditional performance costs associated with high-poly meshes and LOD baking. Furthermore, Niagara[4], the visual effects system, enables the creation of stunning particle effects like fire, smoke, and water.
These advanced tools, combined with the core features, make Unreal Engine an exceptional platform for creating next-generation environments. Exploring 3D graphics trends can also inspire new ways to build your worlds.
Conclusion
Creating compelling environments in Unreal Engine is a blend of artistic vision and technical skill. The engine provides a vast array of tools to bring your ideas to life. From sculpting landscapes and painting foliage to lighting scenes and optimizing performance, every step contributes to the final immersive experience.
By understanding the tools and techniques discussed, you are well on your way to building the amazing worlds your games deserve. Therefore, keep experimenting and learning.
More Information
- Blueprints: Unreal Engine's visual scripting system that allows developers and designers to create game logic and functionality using a node-based interface without writing traditional code.
- LODs (Level of Detail): Optimized versions of a 3D model with reduced polygon counts, used at different distances from the camera to improve performance by rendering less detail further away.
- Photogrammetry: The science and technology of obtaining reliable information about physical objects and the environment through the process of recording, measuring, and interpreting photographic images and patterns of electromagnetic radiant imagery and other phenomena.
- Niagara: Unreal Engine's next-generation visual effects (VFX) system used to create complex particle effects like fire, smoke, explosions, and magic with a high degree of control and flexibility.
- Nanite: Unreal Engine 5's virtualized micropolygon geometry system that allows for the rendering of massive amounts of geometric detail, enabling the use of film-quality assets directly in real-time without significant performance loss.